Azure
Connect an Azure DevOps repository
If your code is hosted on Azure DevOps, you can connect repositories to Level CI to enable automated accessibility scanning directly within your development workflow.
1. Start from the dashboard
-
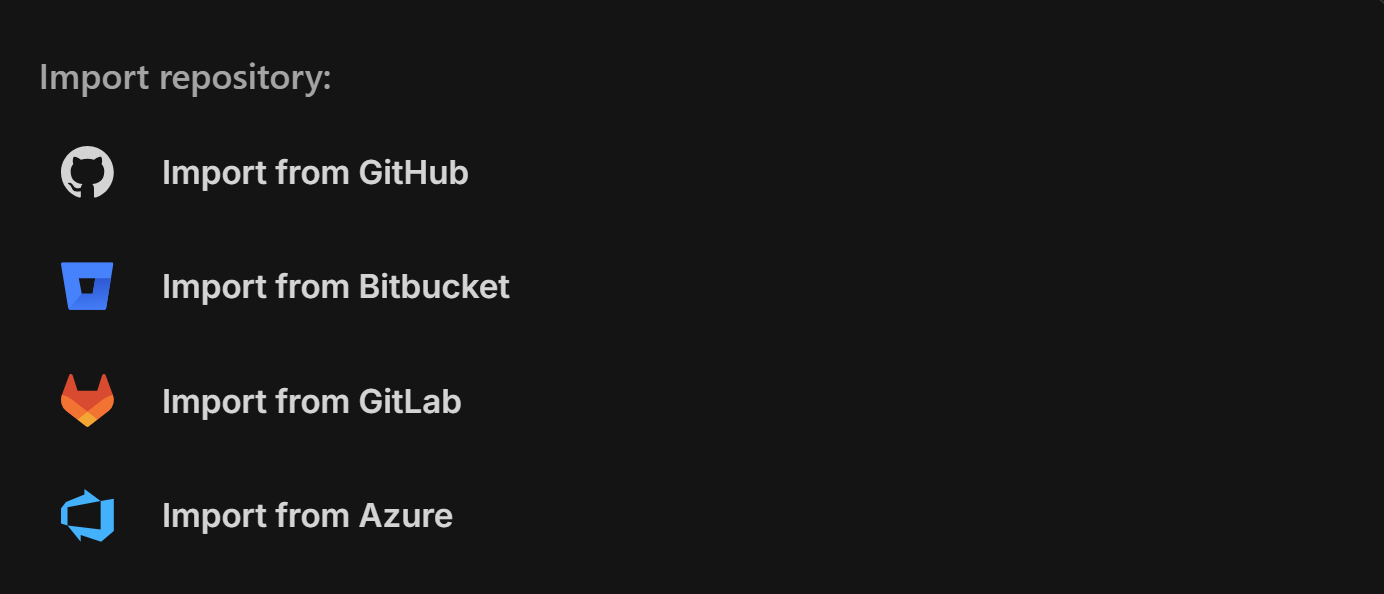
From the Level CI dashboard, select the + button in the top-right corner.
-
Select Import from Azure DevOps, this opens the Import Project from Azure DevOps page.
2. Authenticate your Azure DevOps organization
- Click Connect Azure DevOps Organization to be redirected to the Azure DevOps login page.
- Sign in with your Azure DevOps credentials and approve access for the Level CI integration.
3. Permissions requested
To enable automated scans, Level CI requests the following permissions:
- Read account information: Identify your Azure DevOps organization and user.
- Read repositories and pull requests: Access code and PR metadata for analysis and annotations.
- Read team membership: Align repositories with the correct teams and permissions.
You can choose to:
- Grant access to all repositories in your Azure DevOps organization.
- Select specific repositories.
These settings can be updated later in your Azure DevOps account settings.
4. Project structure mapping
Level CI mirrors your Azure DevOps hierarchy:
- One Level CI project ↔ One Azure DevOps repository
- Repositories remain grouped under their Azure DevOps organization or personal account.
- A single Level CI organization** can connect to multiple Azure DevOps orgs or accounts.
5. Import projects
After authorization, Level CI displays a list of repositories in your connected Azure DevOps organization(s).
- Select the repositories you want to import.
- You can override the default project settings (project name, main branch).
- Click Create Project.
⚠️ Note: An Azure DevOps repository can only be imported once into Level CI.
Each imported repository becomes a standalone Level CI project.
6. Configure Your Project
Once imported, you’ll be prompted to set up an end-to-end testing framework (Cypress, Playwright, Puppeteer, or WebdriverIO).
Follow the guided instructions to complete the setup.
7. Run Your First Analysis
After setup is complete, Level CI will:
- Automatically run your first accessibility scan.
- Display detailed results in the Level CI dashboard.
- Annotate your Azure DevOps pull requests with accessibility findings and quality gate status, ensuring accessibility checks are integrated into your workflow.