Overview
To begin accessibility analysis of your website repository, it must first be added as a project in Level CI. The recommended approach is to import it directly from a supported Git hosting platform (ALM) such as GitHub, GitLab, Bitbucket, or Azure DevOps. If your Git host is not yet supported, you can also add the repository manually.
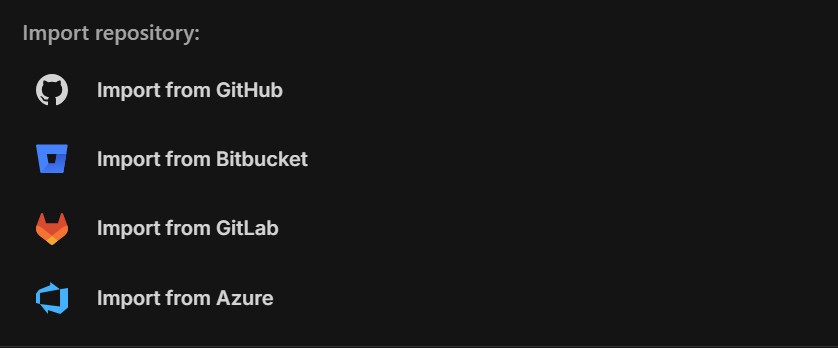
Ways to create a project
- Import from Git hosting by choosing between GitHub, GitLab, Bitbucket, and Azure DevOps.
- Add your repository and project details manually if import is not available.

When creating a project, several default settings are applied (project name, main branch name). These can be customized during project creation or later on the Project Settings page.
Key settings
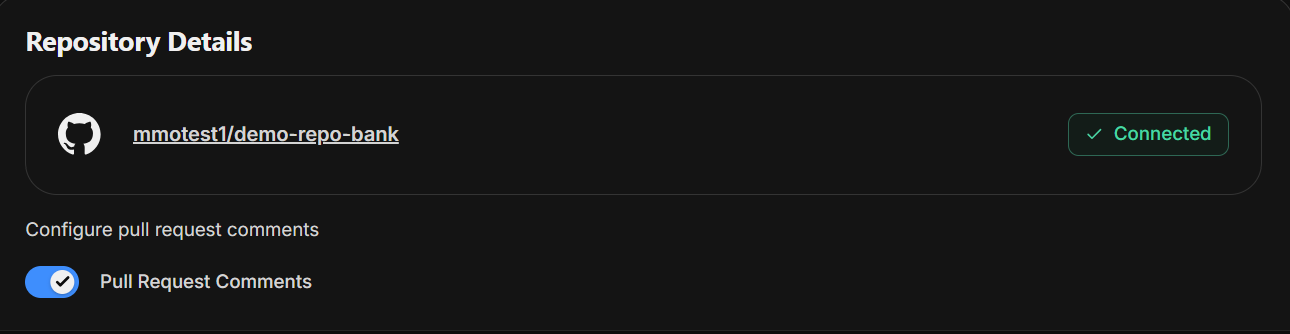
- Repository details: Identify which repository is connected and configure pull request comments
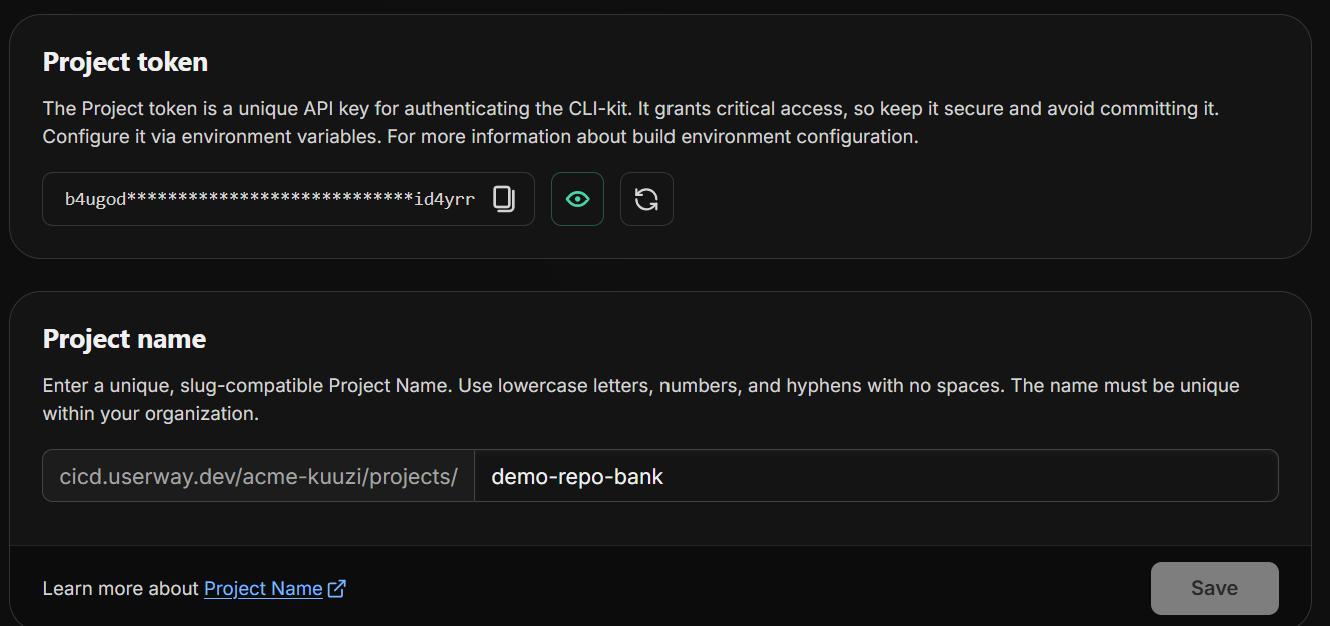
- Project Name: Identifies your project in the CI/CD Dashboard and CLI toolkit. Must be unique within your org, slug-compatible (lowercase letters, numbers, and hyphens only).
- Main Branch Name: Defines the default branch analyzed when no branch is specified. This is usually main, develop, or head, and is automatically set when importing from Git hosting.

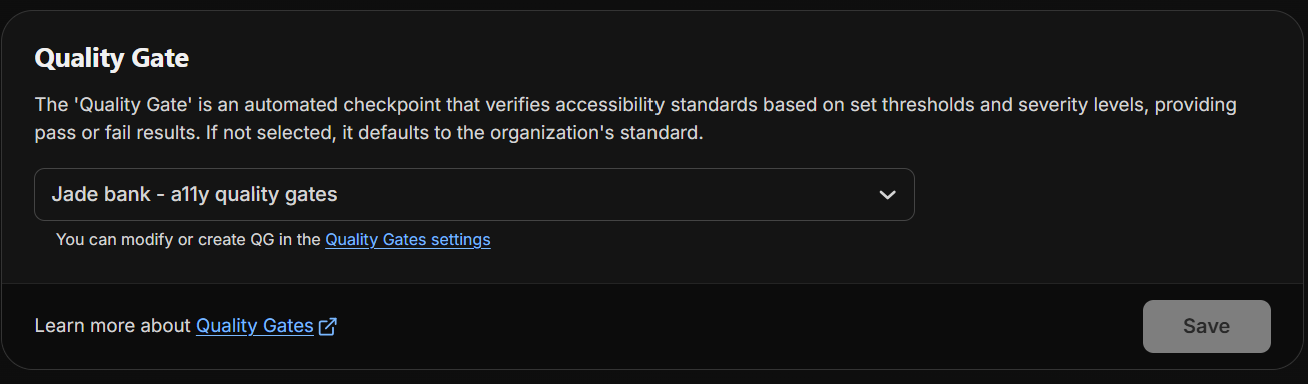
- Quality gate: Choose the quality gate required for project settings or retain the auto-populated default option.
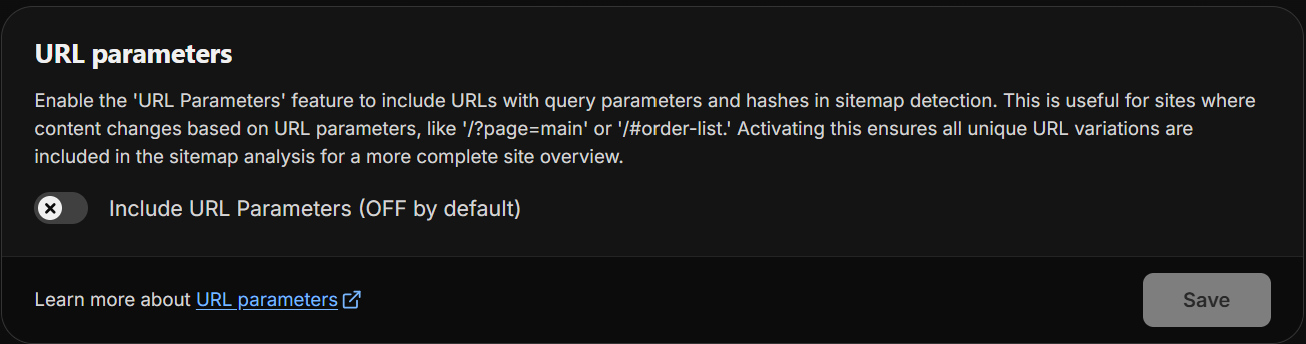
- Enable URL Parameters: Ensures URLs with query parameters or hashes like /?page=main, /#order-list are treated as distinct for analysis, providing deeper coverage.
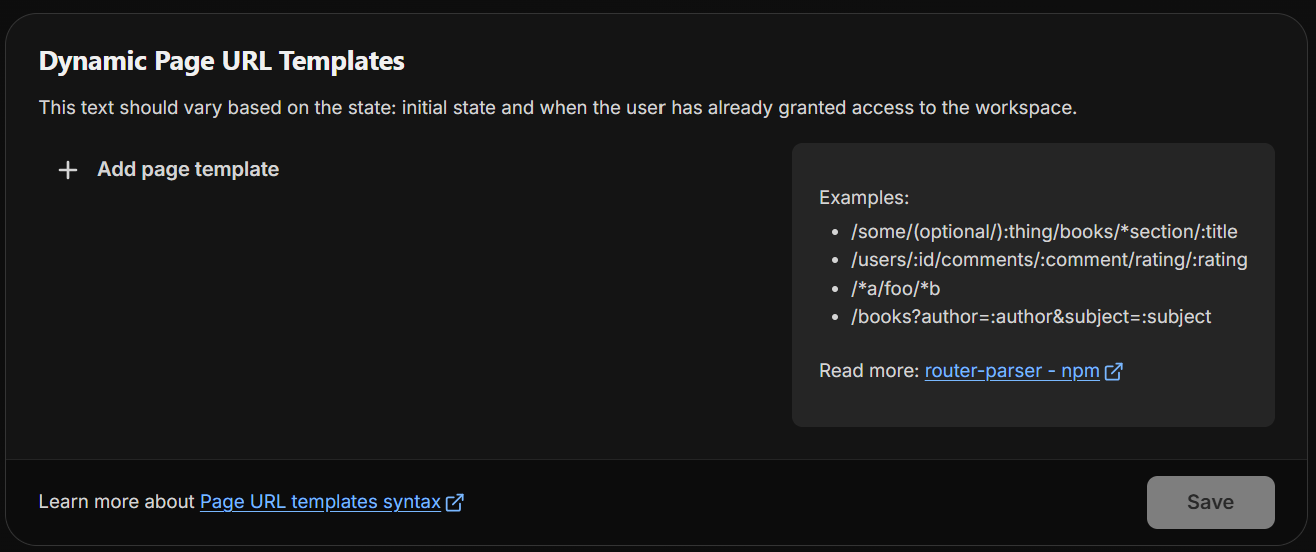
- Page URL Templates: For dynamic routes such as /shop/iphone-15, define templates like /shop/:product to ensure accurate identification of unique pages.
Last updated on